This is the first of a 3-part series I'll be writing about the 31 days media challenge (March 1st - 31st, 2020), appropriately titled March Media Madness, being run by @unicodeveloper, an open source evangelist, and Cloudinary.
I'm writing this series essentially to solidify the knowledge I've gained so far of Cloudinary's robust media transformation techniques and hoping someone out there finds it helpful as well.
I have included a link to the Cloudinary Cookbook recipe related to each day's challenge for you to check out more media magic!
Let's jump right in!
Part one covers the first 10 days.
Day 1 (March 1st)
Recipe: Border
 Baseline image: https://res.cloudinary.com/cdemo/image/upload/_mmm/cld.png
 Expected result
To achieve this transformation, we'll use the border parameter, bo. This parameter allows us to add a border around the image with the ability to dynamically customize the border's properties (width, style, color, opacity).
Let's transform the baseline image by adding a 5px solid red border to its URL:
https://res.cloudinary.com/cdemo/image/upload/bo_5px_solid_red/_mmm/cld.png
Day 2 (March 2nd)
Recipe: Text Overlay
 Baseline Image: https://res.cloudinary.com/cdemo/image/upload/_mmm/cld.png
 Expected result
The overlay parameter, l, is used to add text or image on top of an existing image.
For this challenge, we'll set the overlay parameter to text and customize the text by setting its font family, size and weight. Black is the default color so we don't have to set the color.
https://res.cloudinary.com/cdemo/image/upload/l_text:arial_30_bold:March Media Madness/_mmm/cld.png
Day 3 (March 3rd)
Recipe: Cartoonify and Shadow effects
 Baseline image: https://res.cloudinary.com/cdemo/image/upload/_mmm/cld.png
 Expected result
This challenge contains two transformations: a cartoon-like effect and a box shadow effect.
The cartoon-like effect is achieved by setting the effect parameter, e, to cartoonify while the shadow effect is achieved by setting the effect parameter to shadow.
By modifying the base URL with these effects, we are able to get the expected result:
https://res.cloudinary.com/cdemo/image/upload/e_cartoonify/e_shadow/_mmm/cld.png
Day 4 (March 4th)
Recipe: Image Blur and Text Overlay Positioning
 Baseline image: https://res.cloudinary.com/cdemo/image/upload/_mmm/cld.png
 Expected result
Let's begin with the text overlay as we have discussed it previously in day two's challenge. The main difference with today's challenge is that the text is positioned in the bottom right corner of the image rather than the center.
This positioning is achieved using the gravity parameter, g. The gravity parameter uses the compass points to place an overlay anywhere on the specified image. The text in this challenge is located in the south-east corner of the image so we'll use g_south_east in the URL.
The second transformation blurs out the underlying image by setting the effect parameter to blur.
PS: We didn't use the gravity parameter for day two's challenge because the default overlay positioning is
center.
Day 5 (March 5th)
Recipe: Resize Image and Text/Image Overlay Positioning
 First baseline image: https://res.cloudinary.com/cdemo/image/upload/_mmm/envelope.jpg
 Second baseline image: https://res.cloudinary.com/cdemo/image/upload/_mmm/opensource.png
 Expected result
This is a particularly interesting challenge as it involves most of the recipes we learned from previous challenges coupled with some minor additions. I will dwell more on these additions.
We begin by resizing the first baseline image. To preserve the aspect ratio of the image, Cloudinary allows us to use either the height, h, or width, w, parameter, but not both. We'll set the width parameter to the desired value in pixels.
We also need to set the crop mode after resizing the image. We'll use the fit crop mode which keeps as much detail of the original image as possible.
Two types of overlays are in play with this challenge: a text overlay, which we saw in previous challenges, and an image overlay.
To apply the image overlay, the overlay parameter, l, is set to the public ID of the image to be used. In cases where an image has parent directories, a colon, :, is used to separate each level in the file tree.
Finally, we implement custom positions for different overlays by setting their respective x and y offset parameters as required.
Combining all of these transformations gives us the URL below:
Day 6 (March 6th)
Recipe: Distortion Effect
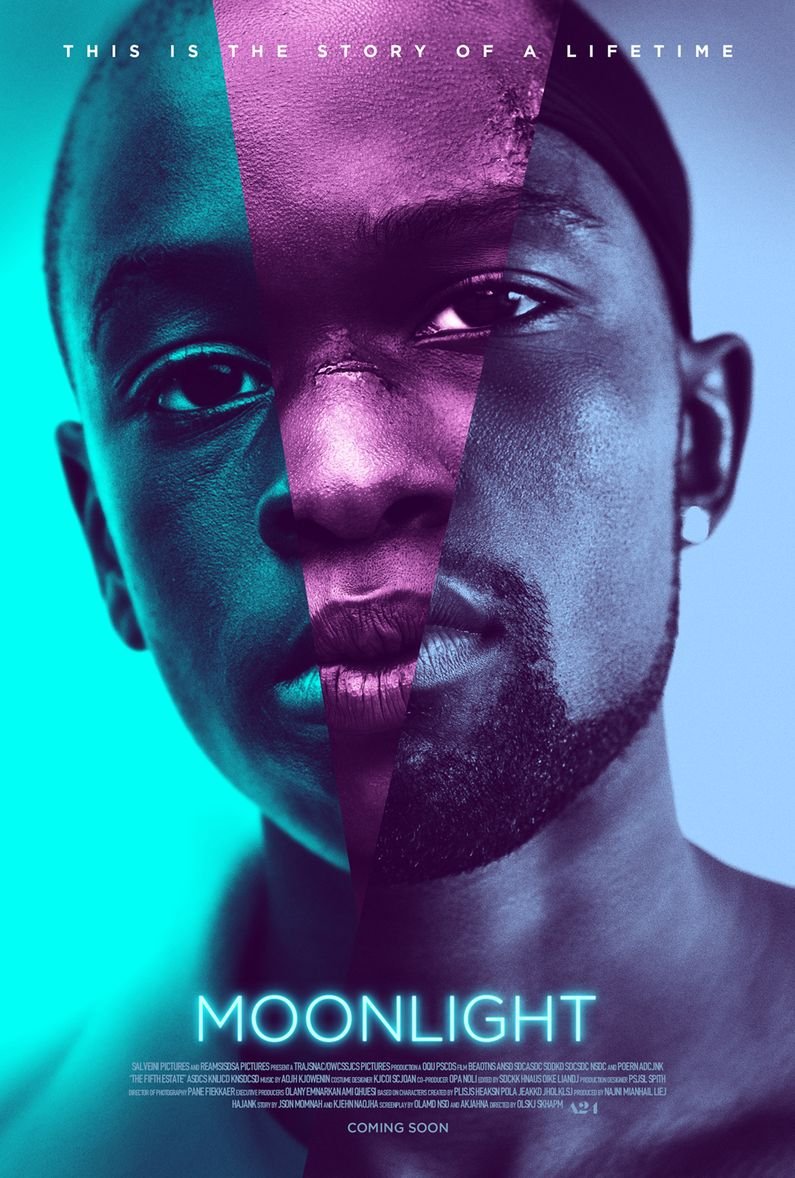 First baseline image: https://res.cloudinary.com/cdemo/image/upload/_mmm/poster.jpg
 Second baseline image: https://res.cloudinary.com/cdemo/image/upload/_mmm/discbox.jpg
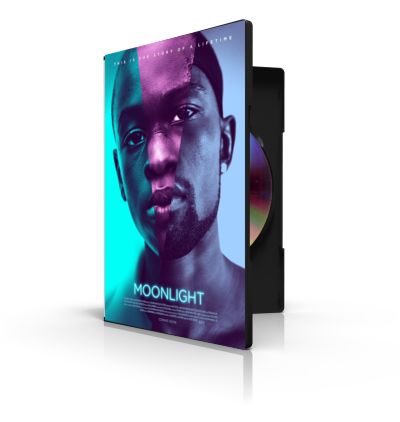 Expected result
The distort effect transforms a given image into a quadilateral shape by assigning new coordinates to each of its four corners. The coordinates assignment is done in a clockwise direction starting from the top left corner of the image. Each pixel of the image is then mapped in proportion to the new shape of the quadilateral.
Both baseline images are also resized so as to better fit each other.
Day 7 (March 7th)
Recipe: Image Underlay and Grayscale/Gradient Fade
 Expected result
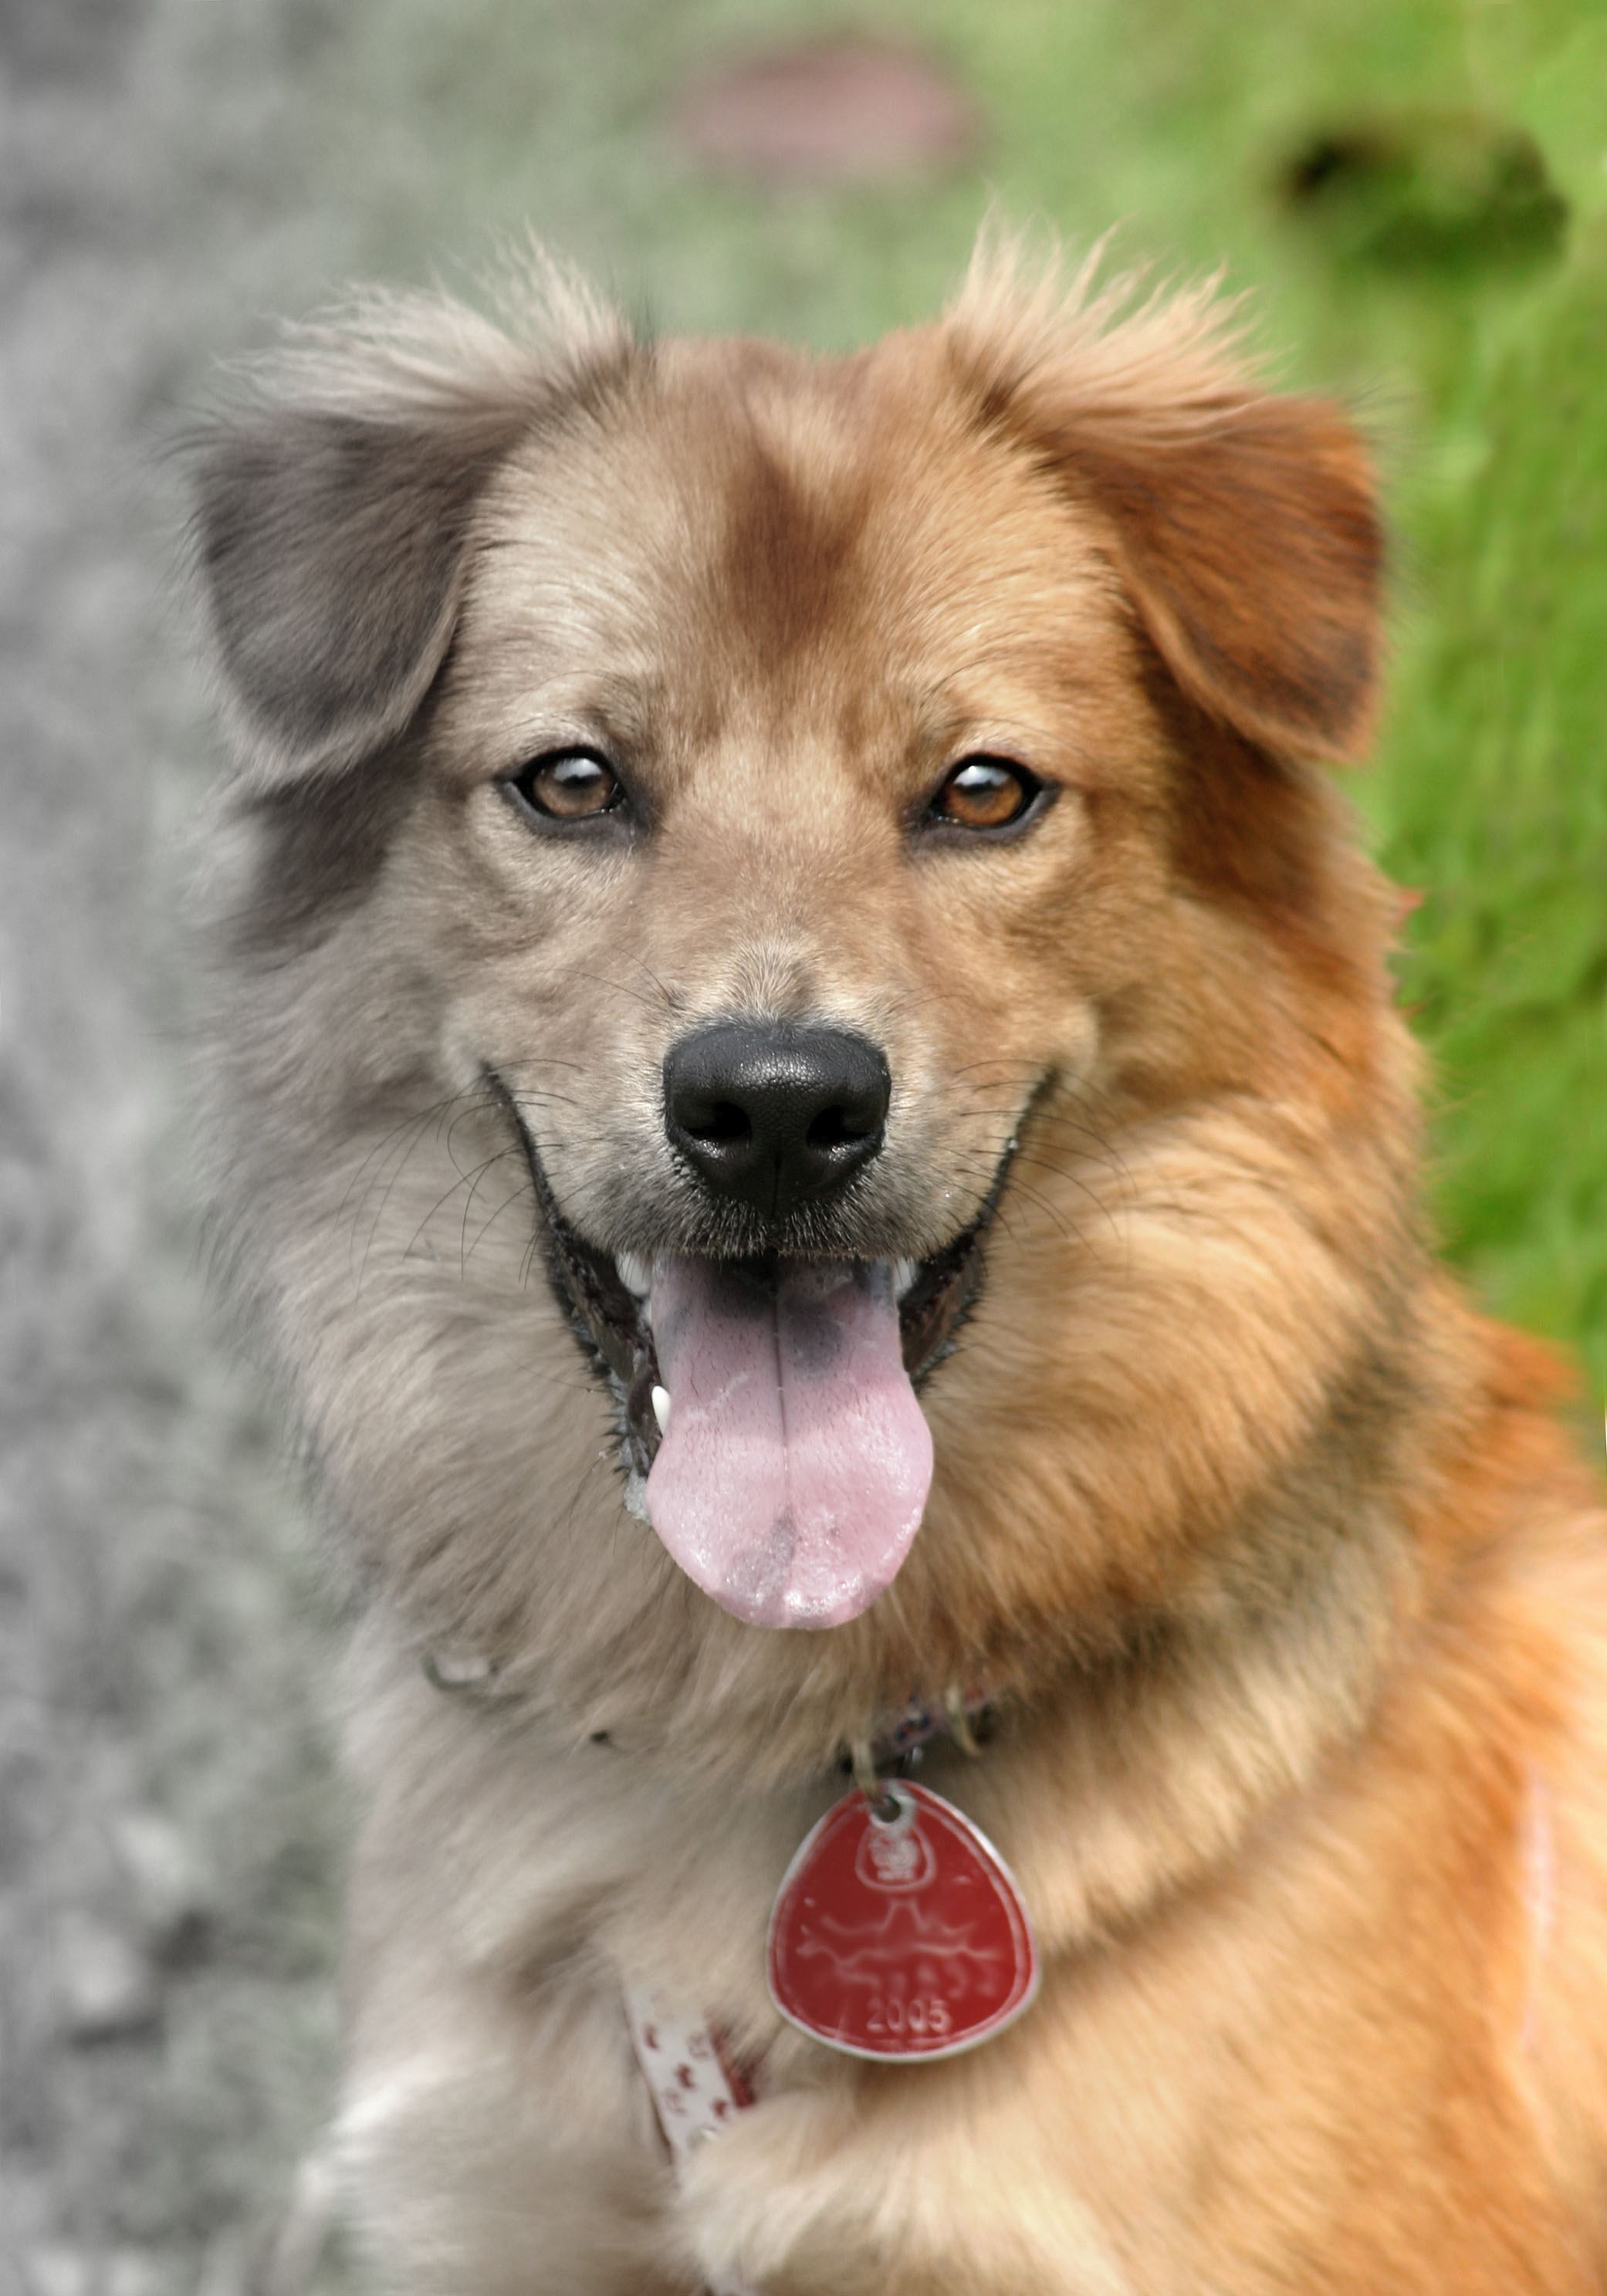
This challenge requires us to use the gradient fade effect to create a smooth transition from grayscale to color.
We achieve this by first duplicating the baseline image using the underlay parameter, u, and then applying the grayscale effect. We then apply a gradient fade effect to the original base image with an x offset parameter set to the position where we want the fade from the underlying to overlying image to occur.
Day 8 (March 8th)
Recipe: Image as Text Texture
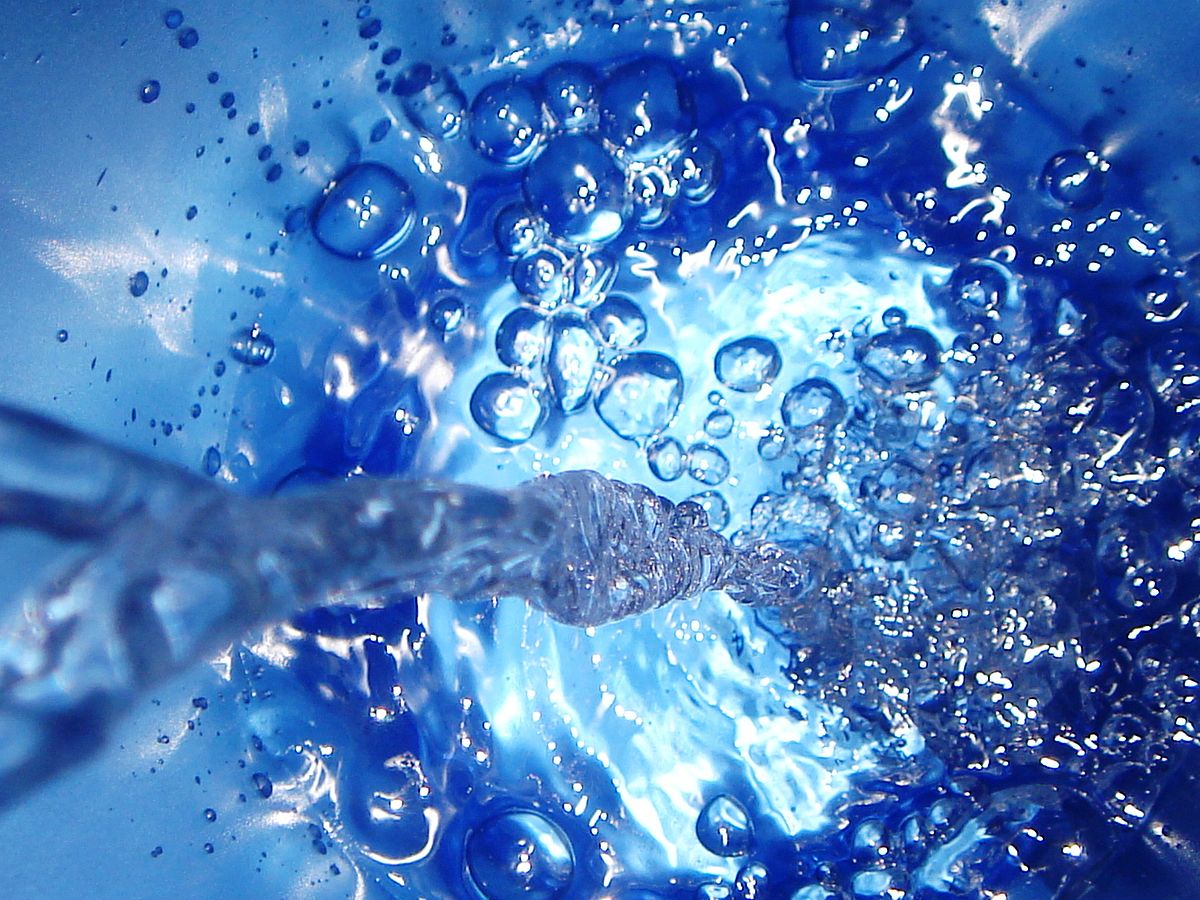 Baseline image: https://res.cloudinary.com/cdemo/image/upload/_mmm/freshcoloredwater.jpg
 Expected result
For this challenge, we'll be creating a text cutout from the given baseline image.
First, we'll dynamically add a text overlay with our desired text's parameters (font family: Arial, size: 250px, weight: bold) and then add a shadow effect.
To achieve the cutout style, we'll use the flags parameter, fl, and set it to cutter.
Note that the final image has no background. To achieve this, we'll convert the baseline jpg image to a png format by using the fetch format parameter, f, and setting it to png.
Finally, we set the image width to the required value and end up with the expected result:
Day 9 (March 9th)
Recipe: Remote Image Fetch and Image Rotation
 First baseline image: https://res.cloudinary.com/cdemo/image/upload/v1583787800/_mmm/prosper.jpg
 Second baseline image: https://res.cloudinary.com/cdemo/image/upload/v1583425593/_mmm/opensource.png
 Expected result
Cloudinary's image transformation goodness is not by any means limited to images uploaded to Cloudinary. We can also transform images from remote locations. Cloudinary allows us to do this using the fetch feature. Two differences to note in comparison with the upload feature we've used in previous challenges are:
uploadis replaced withfetch.- The image public ID is replaced with a full link to the remote image.
In our case, the image we're fetching remotely is the 'OS' watermark (opensource.png) which is ironically located on Cloudinary.
Next, we resize the image and set its crop mode to pad.
We then rotate the image using the angle parameter, a, and set its value to -35.
We are now going to perform a sandwich maneuver to it by add using the first baseline image as both an overlay and underlay to give it a transparent effect. [Alternatively, we can use the opacity parameter, o, on the remote image to give it the same effect].
Finally, we adjust the x and y offsets of the first baseline image to position it where we want.
https://res.cloudinary.com/cdemo/image/fetch/c_pad/w100,a-35/u__mmm:prosper,y115,x-100,e_overlay/q_auto:good/https://res.cloudinary.com/cdemo/..
Day 10 (March 10th)
Recipe: Custom Shape Cropping and Vintage Photos
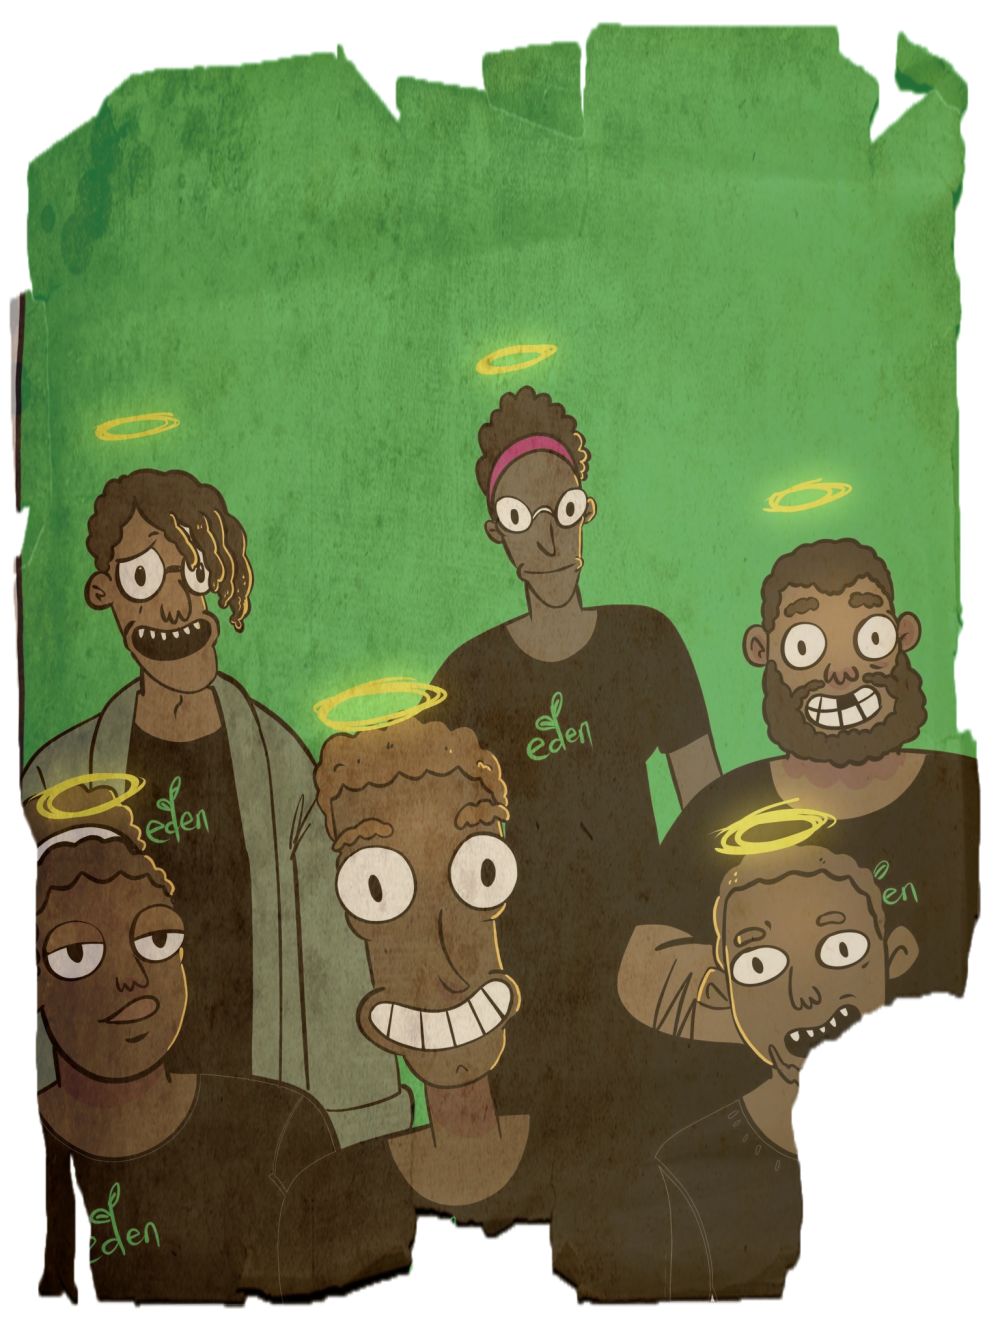
 First baseline image: https://res.cloudinary.com/cdemo/image/upload/_mmm/edencartoon.jpg
 Second baseline image: https://res.cloudinary.com/cdemo/image/upload/v1583824361/_mmm/roughtornmaterial.png
 Expected result
We begin by cropping the first baseline image to the shape of the second baseline image (mask), a process known as masking.
We achieve this by setting the overlay parameter to the public ID of the mask image, setting the flag parameter to cutter and also setting another flag parameter to relative. The relative flag allows us to mirror the size of the baseline image.
In order to get the vintage effect, we'll add the parchment as an overlay and give it a semi-transparent effect by adjusting the value of the opacity parameter, o, as required. We'll again need to set the flag parameter to relative so as to keep in line with the image proportion.
Finally, we set the width of the image to obtain the expected result:
https://res.cloudinary.com/cdemo/image/upload/w_1000/lmmm:roughtornmaterial,w_1.0,h_1.0,fl_relati..mmm:roughtornmaterial,w_1.0,h_1.0,fl_relati..
An important point to note is that we can achieve similar results to the ones listed above by taking completely different approaches. I'm excited to see what approach you take.
Catch you in part two. In the meantime, feel free to experiment with more recipes. 🚀🚀

![March Media Madness Takeaways Part I [Yet Another Cloudinary Blog Post]](https://cdn.hashnode.com/res/hashnode/image/upload/v1584600538456/NKA7hTxnE.png?w=1600&h=840&fit=crop&crop=entropy&auto=compress,format&format=webp)
 Baseline image: