March Media Madness Takeaways [Yet Another Cloudinary Blog post] - Part II
This is the second part of a 3 part series I'm writing about the Guess the Transformation challenge being hosted by Prosper Otemuyiwa (@unicodeveloper) and Cloudinary.
Here's a link to the first part of the series to get you up to speed.
As I noted in the first post, most of these challenges can be solved using various approaches. The purpose of this post is to try to show how the solution to each day's challenge is derived.
I have also included a link to the Cloudinary Cookbook recipe/documentation related to each day's challenge for you to check out more media magic!
This second part covers the next 10 days (11th March - 20th March, 2020).
Let's go!
Day 11 (March 11th)
Recipe: Eyes Overlays
 First Baseline Image: https://res.cloudinary.com/cdemo/image/upload/v1583944329/_mmm/finepeople.jpg
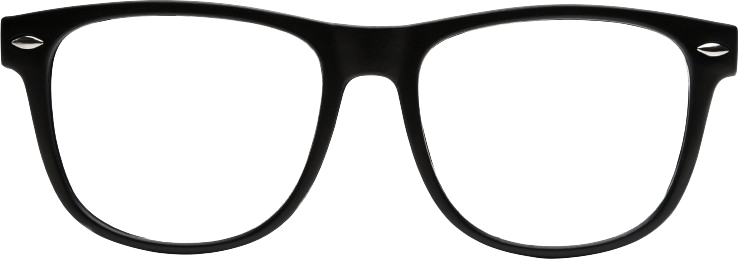 Second Baseline Image: https://res.cloudinary.com/cdemo/image/upload/v1583943678/_mmm/glasses.png
 Expected result
For this challenge, we'll make use of Cloudinary's Advanced Facial Attribute Detection feature to smartly overlay glasses on top of every detected eye pair in the first baseline image.
To do this, the overlay parameter, l, is set to the public ID of the glasses image. We when activate Cloudinary's Advanced Facial Attribute Detection feature by setting the gravity parameter, g, to adv_eyes.
Lastly, we'll set the region_relative flag with a 1.5 width. This effectively scales each glasses overlay to 150% of the detected eye pairs.
Day 12 (March 12th)
Recipe: Pixelate Face and Duotone Filter
 Baseline Image: https://res.cloudinary.com/cdemo/image/upload/_mmm/puppyface.jpg
![]() Expected result
Expected result
This challenge is a combination of three effects: pixelate, grayscale and tint.
To pixelate the face, we'll set the effect parameter, e, to pixelate_faces. This will detect every face in the image and add pixel squares over each one. The size of the squares can also be set using custom values.
We then create a duotone filter using the grayscale and tint effects. We'll use a red tint and set its strength to 50.
Day 13 (March 13th)
Recipe: Style Transfer
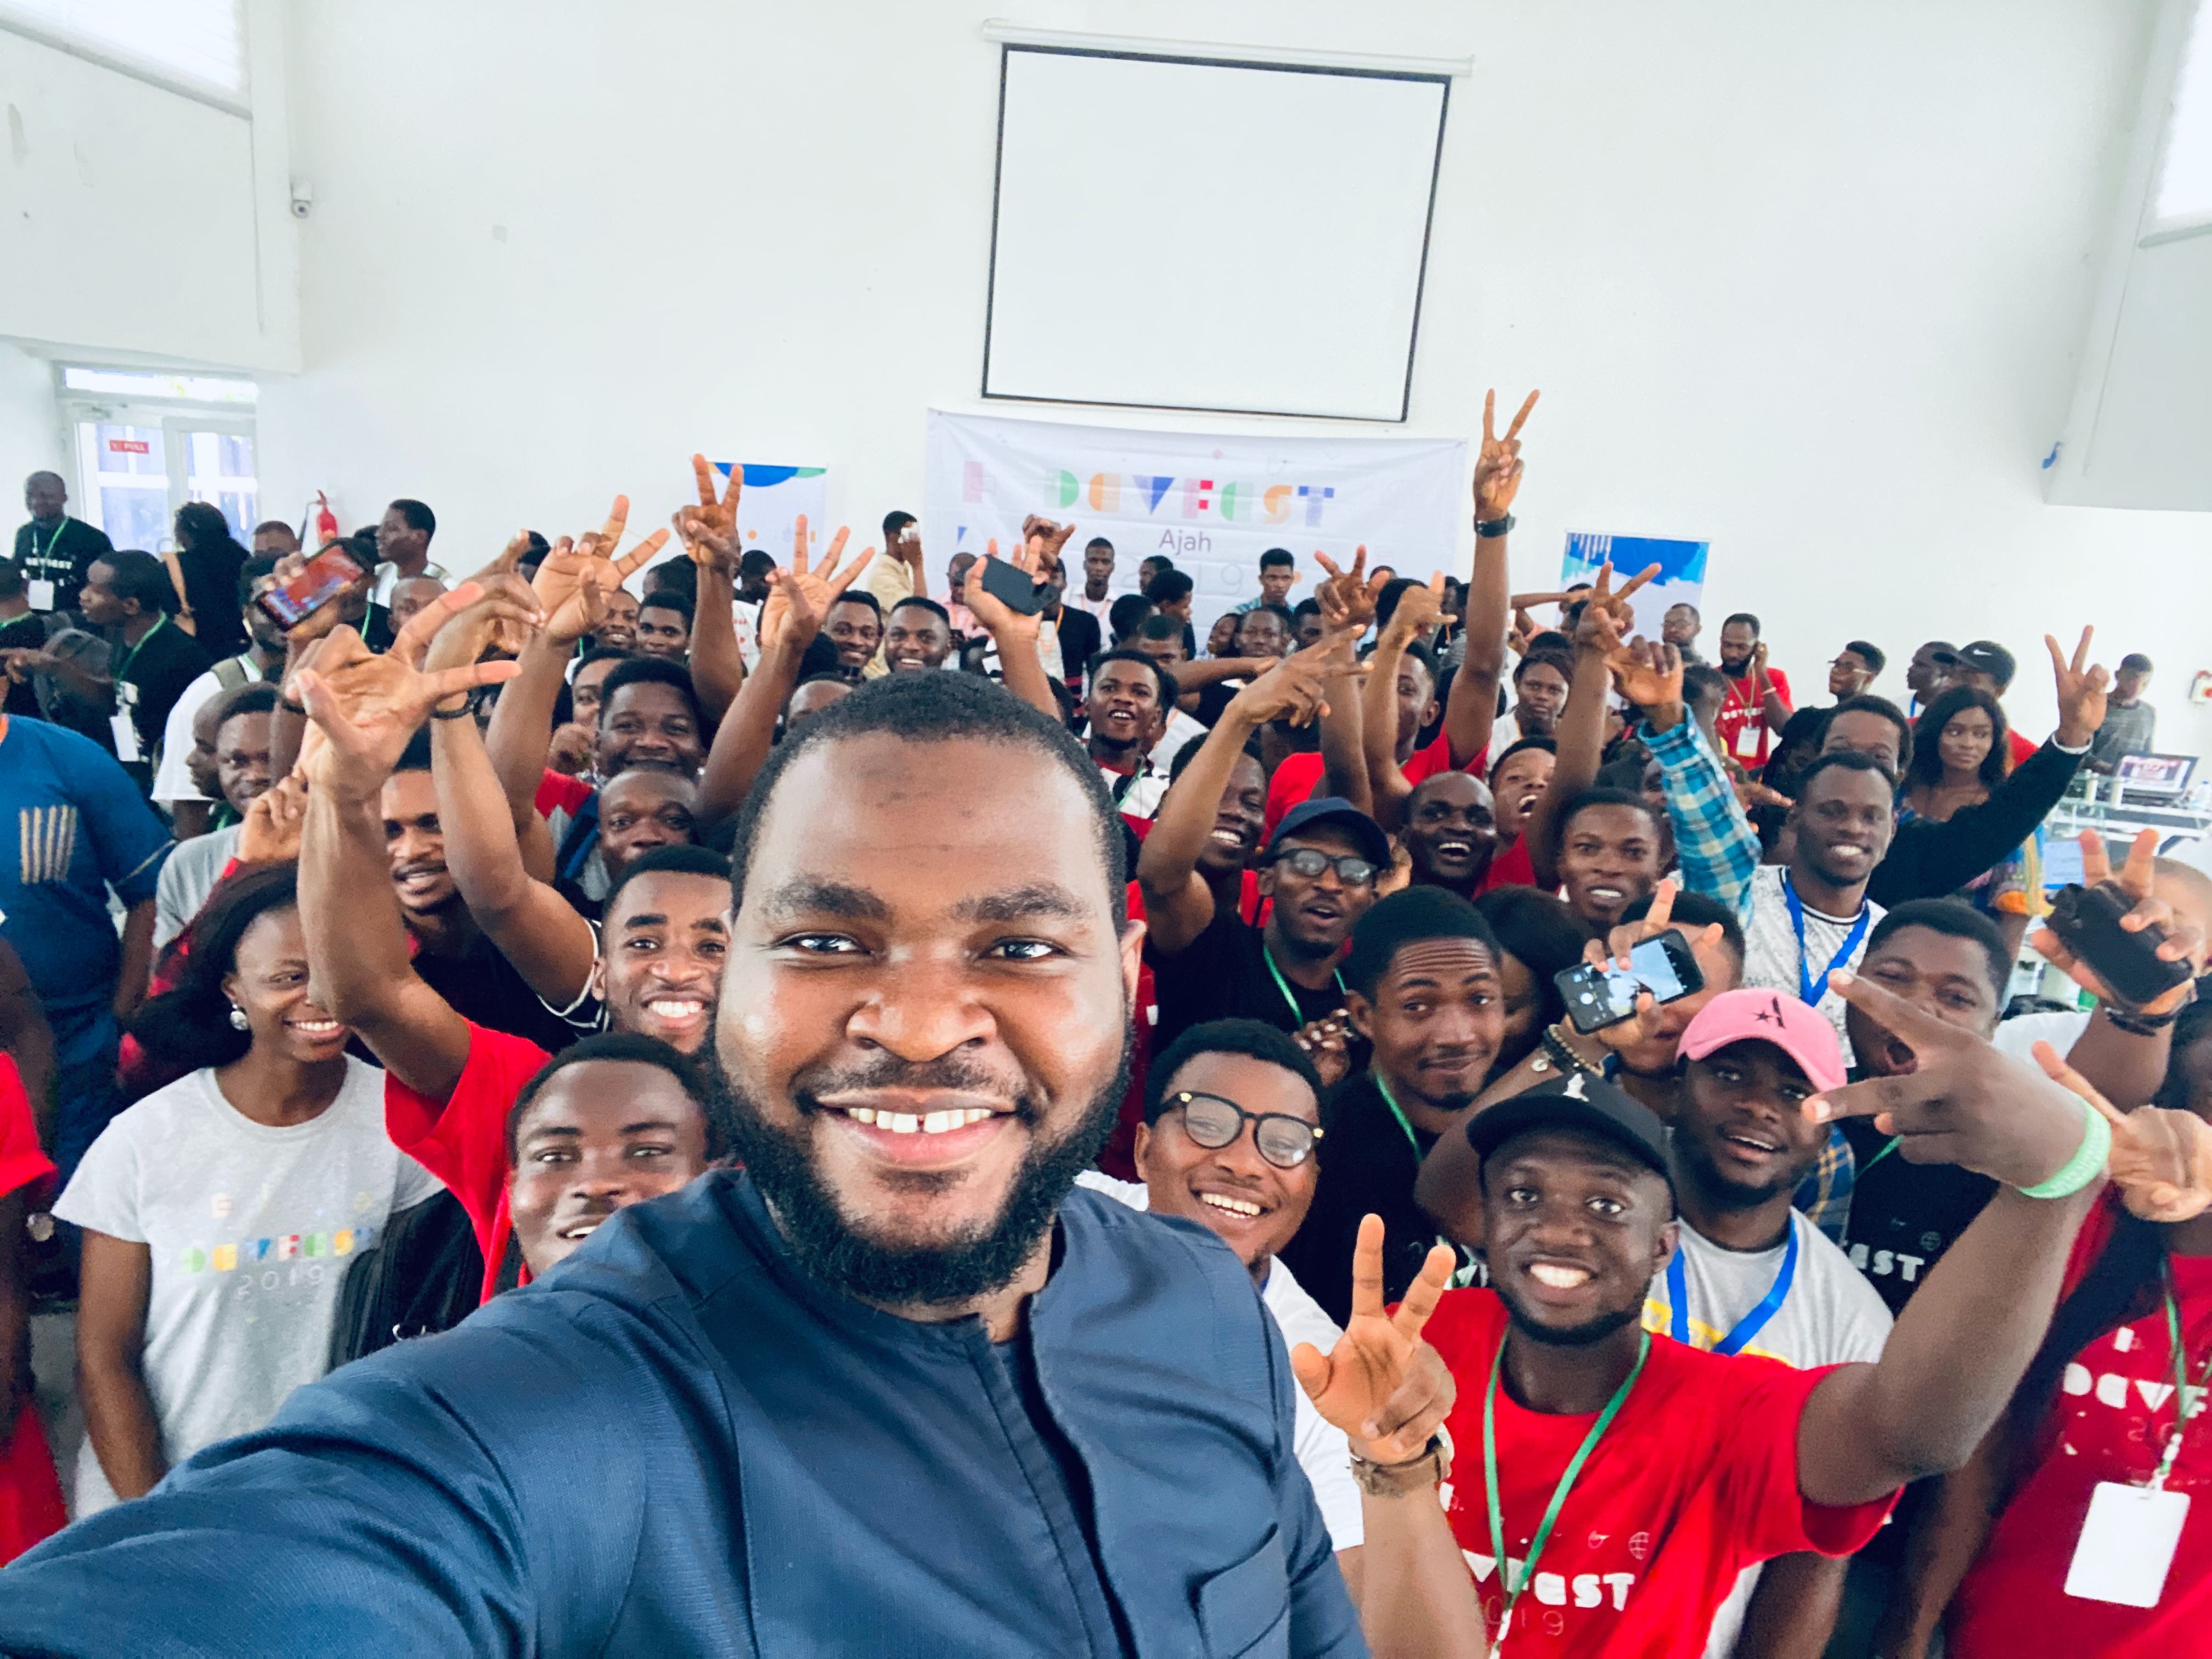 First Baseline Image: https://res.cloudinary.com/cdemo/image/upload/_mmm/community.jpg
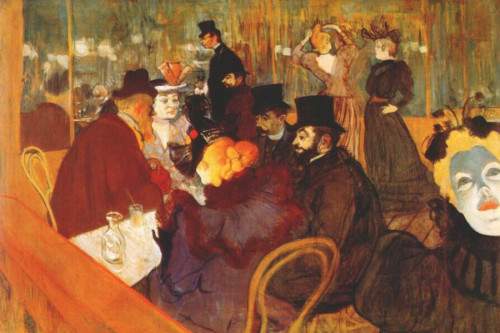 Second Baseline Image: https://res.cloudinary.com/cdemo/image/upload/v1584104910/_mmm/moulin.jpg
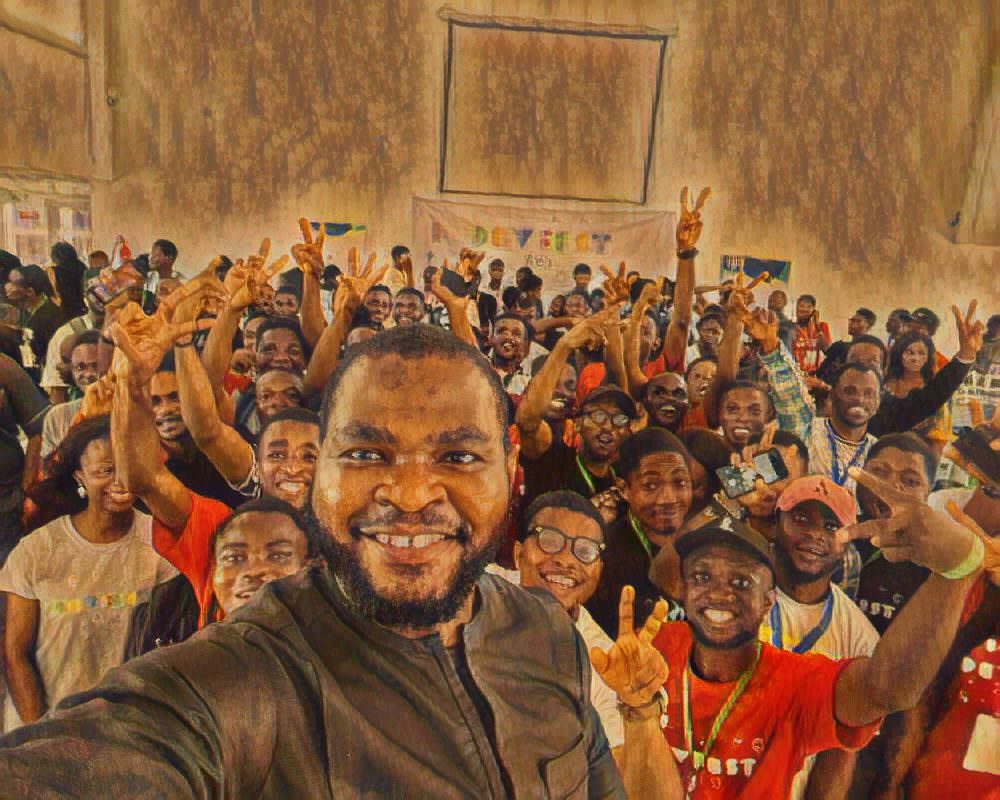 Expected result
For this challenge, we'll make use of Cloudinary's cool Neural Artworks feature to transfer the styles from the second baseline image onto the first baseline image. To do this, we'll set the effect parameter to style_transfer.
We'll also resize the image using the width and height parameters to get the same dimensions as the expected result.
Day 14 (March 14th)
Recipe: Outline Effect
 Baseline Image: https://res.cloudinary.com/cdemo/image/upload/_mmm/bottomleaves.png
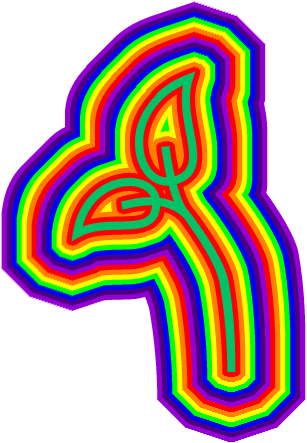 Expected result
To recreate this rainbow-like pattern, we'll make use of the outline effect. This effect, as the name implies, creates an outline around a transparent image.
The outline effect has a default color of black. To create our own colors, we'll set the color parameter, co, to a color of our choice.
We can then create successive outline effect components to achieve the multi-colored outline in this challenge.
Day 15 (March 15th)
Recipe: Displacement Mapping
 First Baseline Image: https://res.cloudinary.com/cdemo/image/upload/v1584251882/_mmm/mug.jpg
 Second Baseline Image: https://res.cloudinary.com/cdemo/image/upload/v1584251791/_mmm/radial.jpg
 Third Baseline Image: https://res.cloudinary.com/cdemo/image/upload/v1584252577/_mmm/tweet.png
 Expected result
One of Cloudinary's more robust transformations is the displace effect, which applies another image as a displacement map to manipulate your base image in a variety of ways. The displacement mapping algorithm evaluates every pixel in the image map and then displaces the pixels in the base image based on the intensity of the corresponding image map pixels.
For this challenge, we've been provided with a displacement template (second baseline image) which we are going to apply on the tweet image.
This particular challenge is a good example of one that can be solved in various ways, so it'll be interesting to see how you approach it.
Besides the displace effect, I'll also like to touch upon the trim effect and angle parameter, a.
The trim effect analyses the image and smartly trims off unused white-spaces.
We apply the angle parameter on the mug to mirror the original mug. To achieve this, we'll flip it vertically at an angle of 180 by setting the angle parameter to vflip.180.
Day 16 (March 16th)
Recipe: Color Mapping
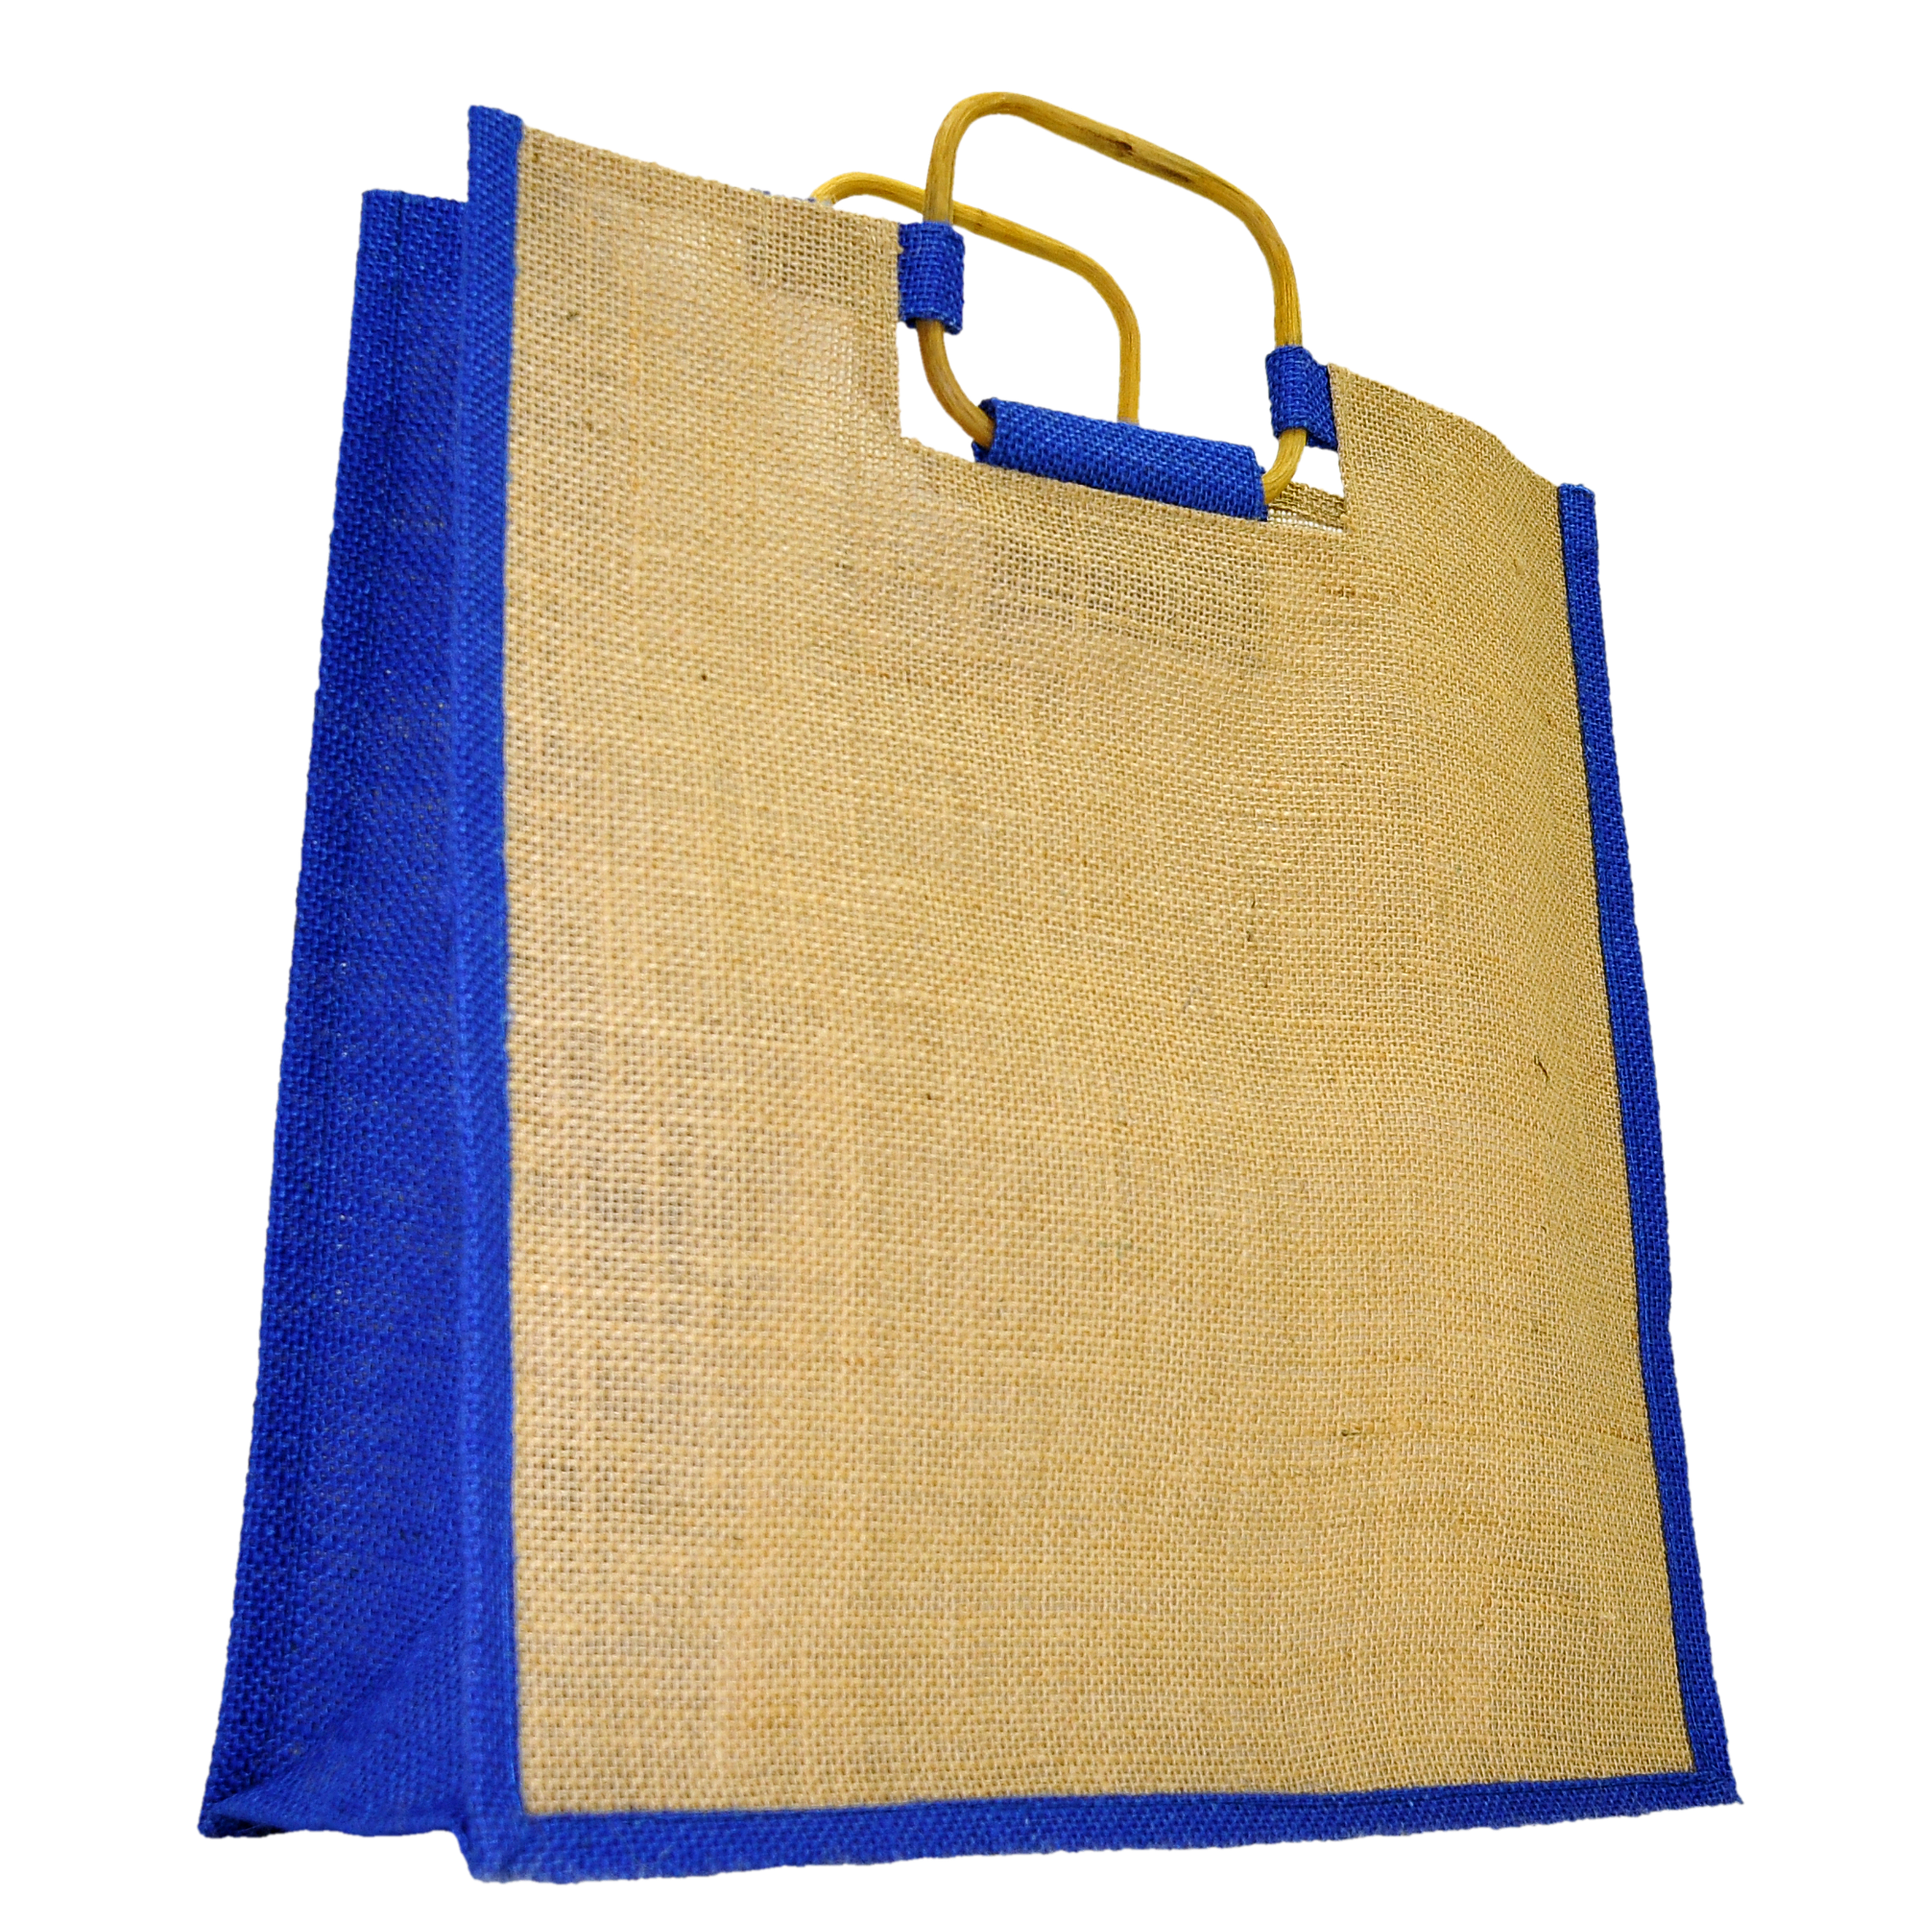 Baseline Image: https://res.cloudinary.com/cdemo/image/upload/_mmm/handbag.png
 Expected result
To complete this challenge, we'll make use of two effects: outline, which we first saw in day 14 challenge, and replace_color, which effectively replaces shades of predominant or custom colors in an image with shades of a different.
Here's the syntax for replace_color effect: e_replace_color:[TO_COLOR]:[THRESHOLD]:[FROM_COLOR]. In this case, we want to replace the color blue with cyan.
The syntax for outline effect is: e_outline:[MODE]:[WIDTH]:[BLUR]. In day 14 challenge, we made use of the default values for the 3 parameters. For this challenge, we'll stick to the default value for mode (inner and outer), but we'll set custom values for both width and blur.
Day 17 (March 17th)
Recipe: Image Overlay/Underlay
First Baseline Image: https://res.cloudinary.com/cdemo/image/upload/v1584510574/_mmm/human.png
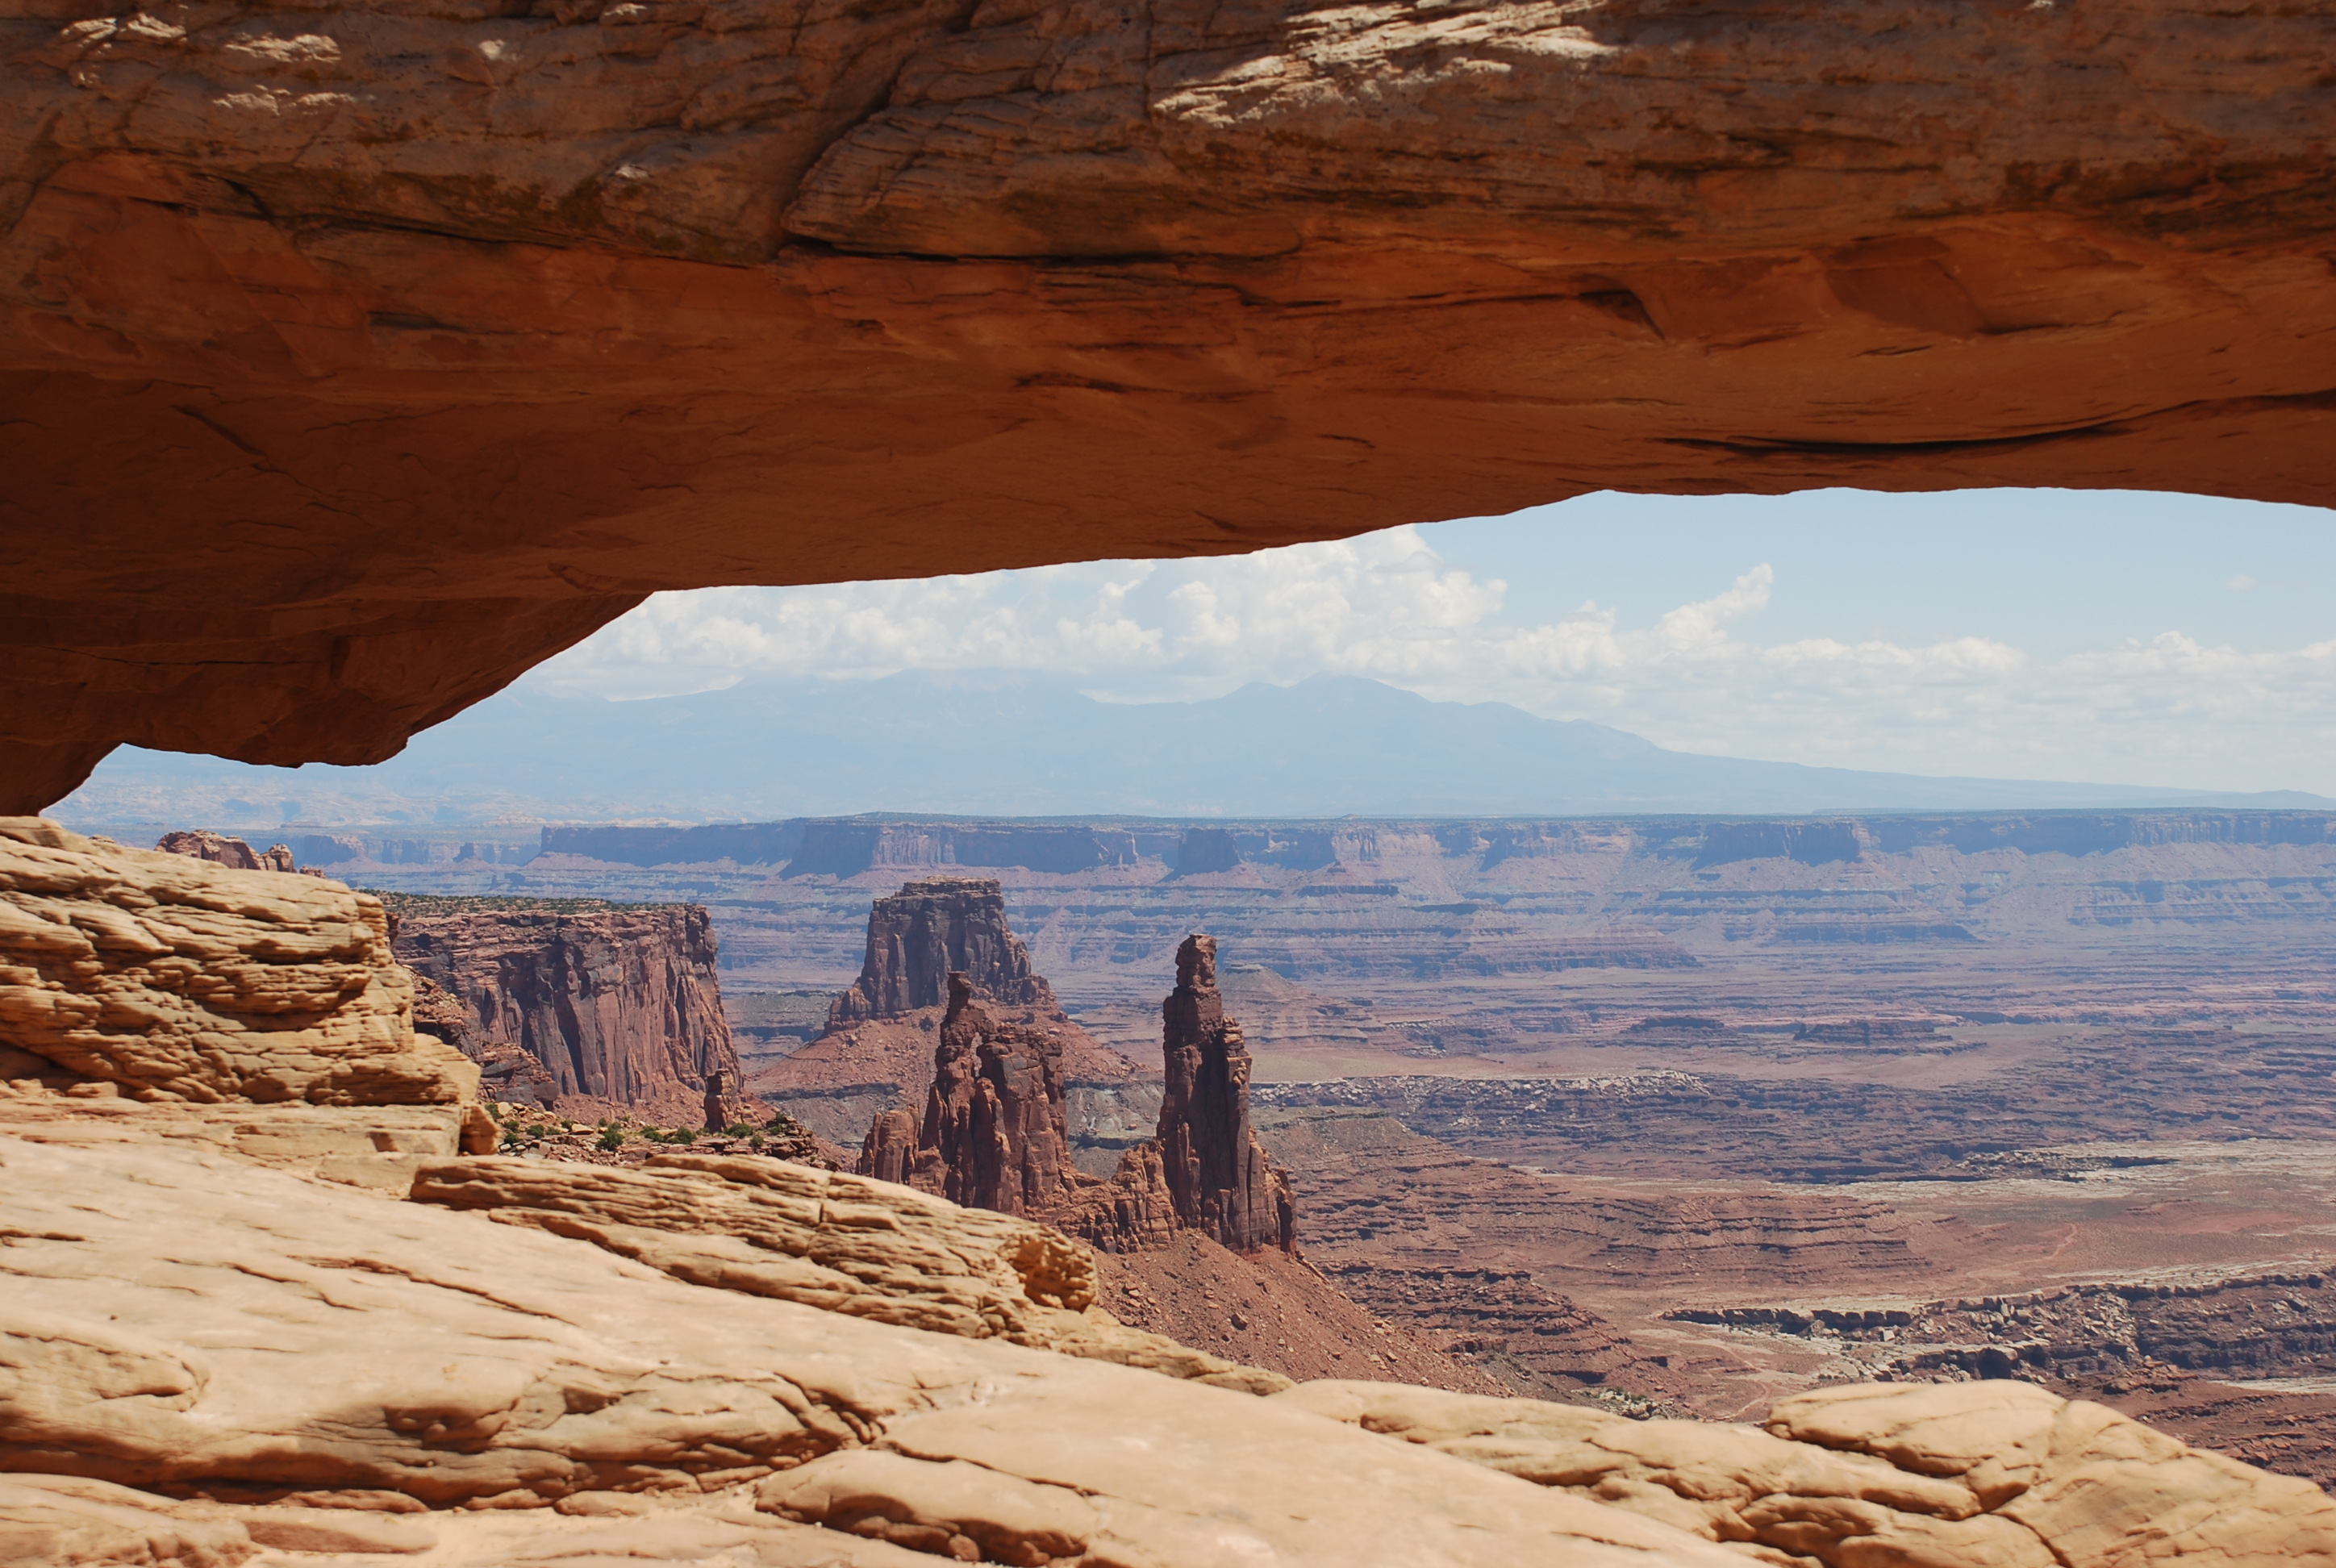 Second Baseline Image: https://res.cloudinary.com/cdemo/image/upload/v1584510559/_mmm/desert.jpg
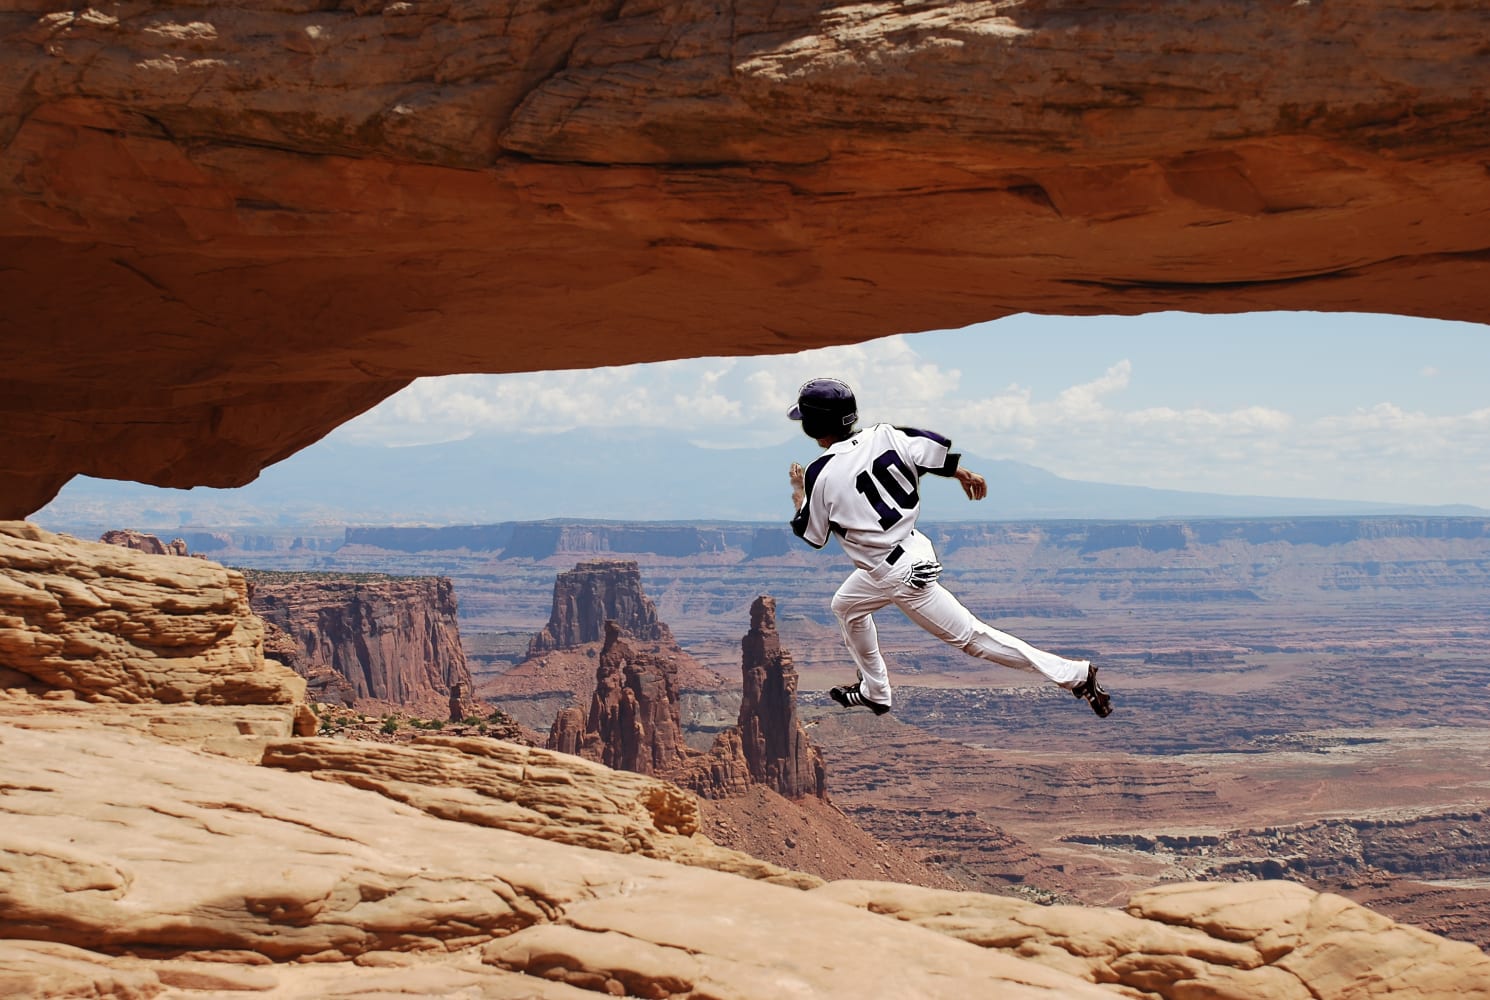 Expected result
Personally, I think there's an inside joke in today's challenge that I didn't get. For context, this is the only challenge with a title: "Zoom Change Background—Remote fun". I'm not quite sure what that's about or maybe it doesn't even mean anything, but if you get it, do let me know in the comments. :)
So, on to the challenge.
There are at least two ways we can solve this challenge. We could either overlay the baseball player on the desert or underlay the desert beneath the baseball player. Either way works just fine.
The winner went with the underlay method and also made some adjustments to the dimensions.

The organizers of this challenge decided to step things up a notch by deviating from image transformation and manipulation to video!
I'm writing this post on the 27th of March. There hasn't been any image challenge since the 17th, so I guess it's safe to say we'll be having video challenges for the rest of the month. C'est bien.
You might want to check out the Cloudinary documentation on Video Transformations before proceeding. Also, check out the doucmentation on Resizing and Cropping Videos, as we'll likely be doing a lot of that and the documentation does a perfect job of outlining what each crop mode does.
Day 18 (March 18th)
Recipe: Concatenate Videos with Images
 Baseline Image: https://res.cloudinary.com/cdemo/image/upload/_mmm/washyourhands.png
 Baseline Video: https://res.cloudinary.com/cdemo/video/upload/_mmm/washhands.mp4
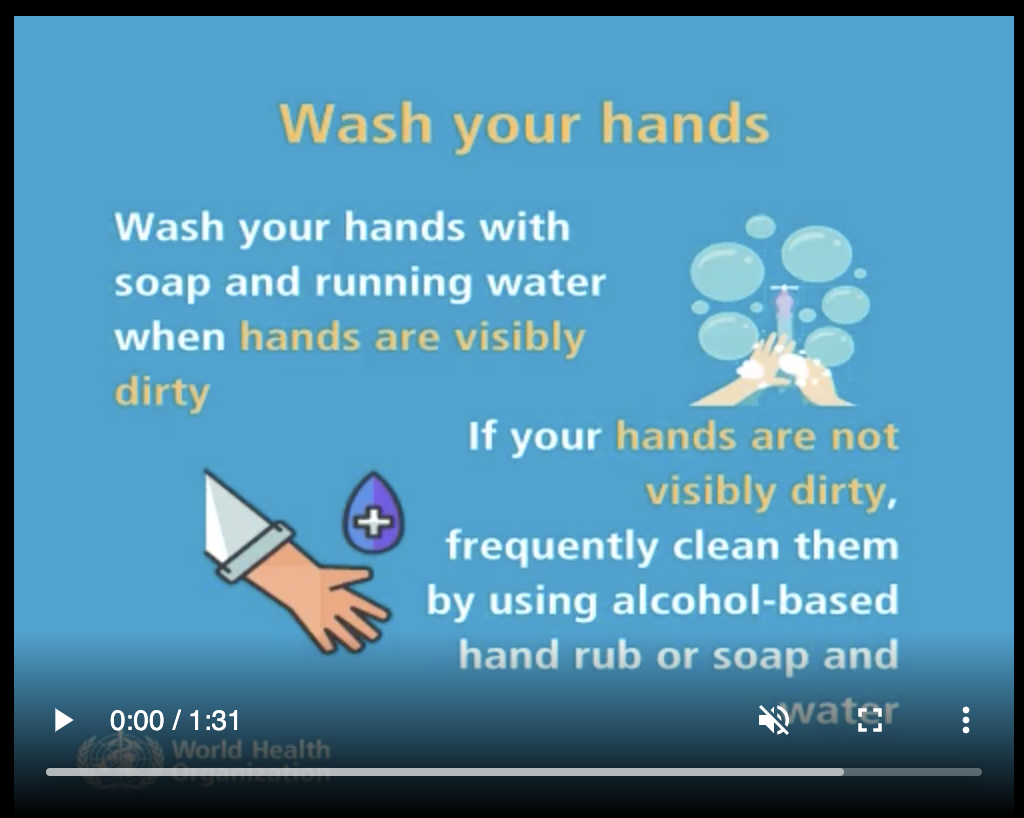 Expected result
For this challenge, we want to concatenate the image named washyourhands to the start of the video named washhands for a duration of 5 seconds (both the video and image will also be scaled to a width of 500 pixels and a height of 400 pixels for uniformity).
We'll achieve this by using the following combination of parameters:
- overlay,
l, to specify the name of the image, - splice flag,
fl_splice, to indicate that the image should be concatenated on to the container video and not added as an overlay, - duration parameter,
du, to specify the amount of time in seconds to display the image, - start_offset set to 0,
so_0, to concatenate the image at the beginning of the video instead of at the end. - layer_apply flag,
fl_layer_apply, to indicate that the above parameters are applied to the image with the overlay parameter and not the base video.
Day 19 (March 19th)
Recipe: Blurred Video Background
 Baseline Video: https://res.cloudinary.com/cdemo/video/upload/_mmm/baseball.mp4
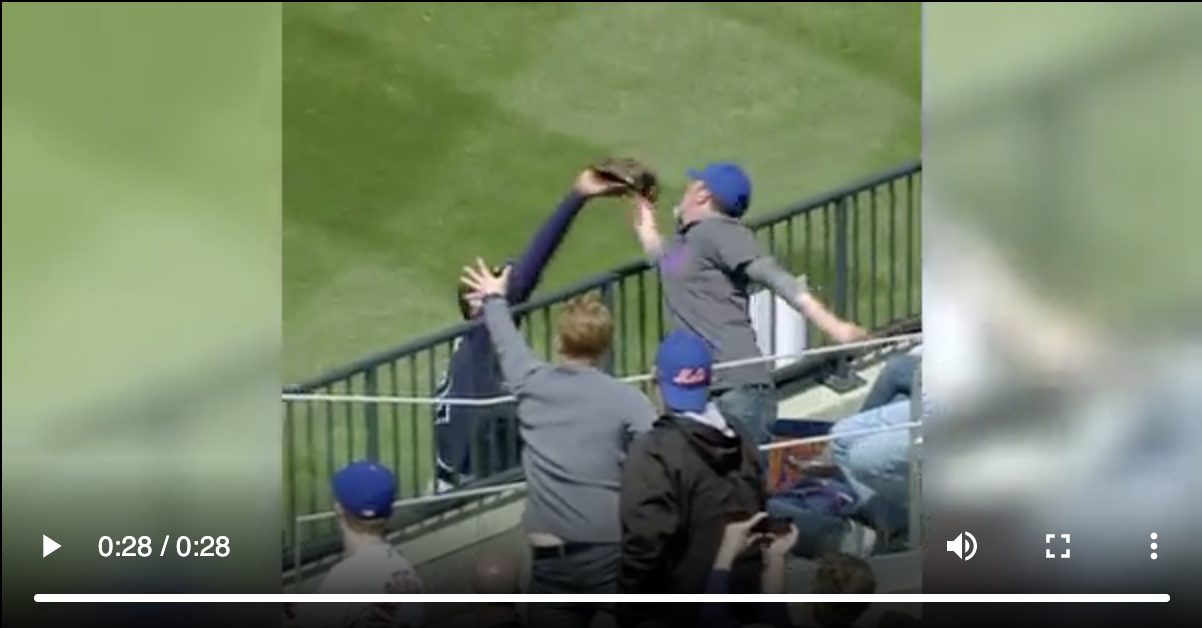 Expected result
Right off the bat (pun intended), the differences between the two videos are quite clear. The aspect ratio of the base video has been switched to a square and a blurred version of the same video has been added to fill out the cropped space.
To achieve this, we resize the base video to square proportions and apply a fill crop mode. We then add a background by setting the background parameter, b, to blurred, with a blur intensity of 400 and a brightness value of 15.
If we leave it this way, the blurred background will remain invisible behind the video with some funny things happening with the video's duration. We don't want that. To stretch it out, we'll adjust it's dimensions to a width of 600 pixels and height of 320 pixels with a pad crop mode.
Day 20 (March 20th)
Recipe: Fade In, Fade Out
 Baseline Video: https://res.cloudinary.com/cdemo/video/upload/_mmm/geng.mp4
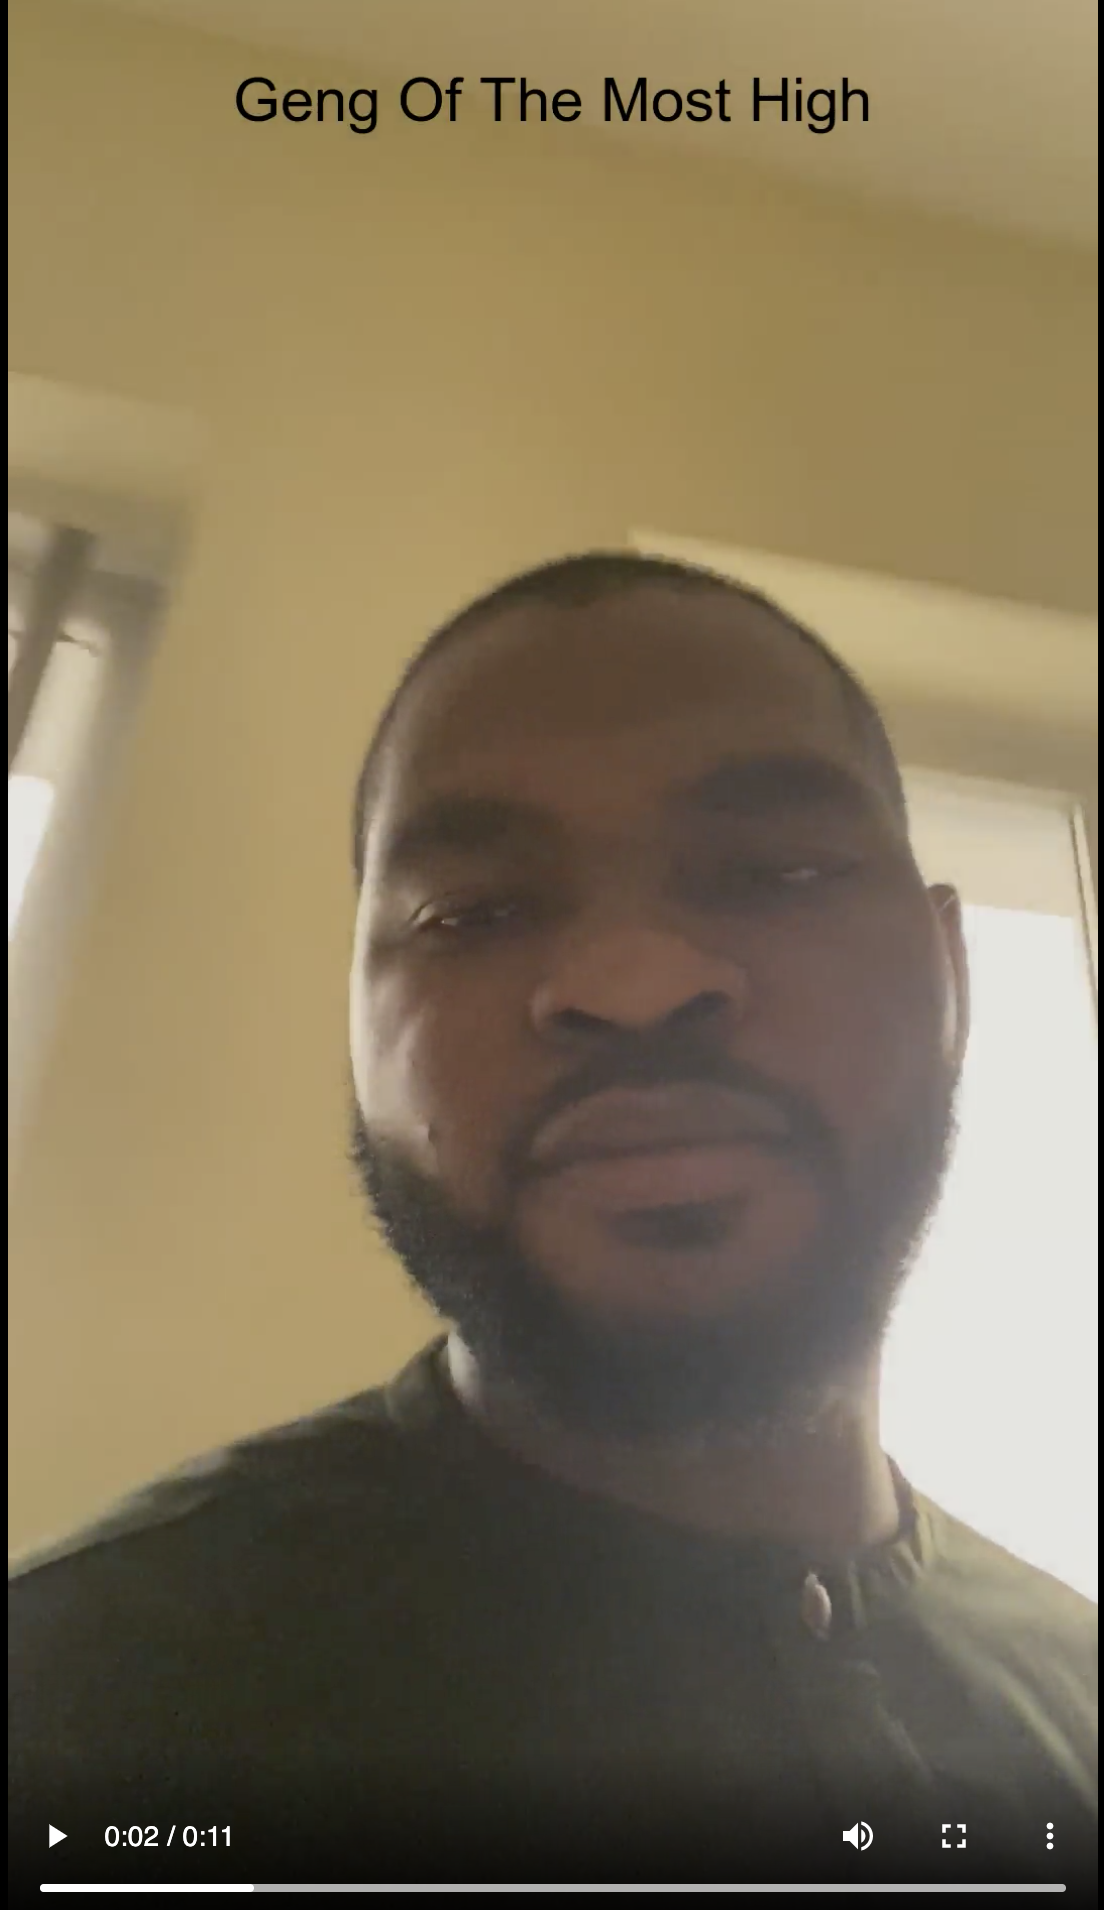 Expected result
The text overlay effect we last saw in Day 8 makes a comeback in this challenge with an added superpower: the ability to step in and out of a video at specified times. Cool, right?
We achieve this using the start offset, so, and end offset, eo, parameters. We'll set both to the times we want the text overlay to step in and out of the video respectively.
We'll also apply two fade effects, e_fade, to the video: one at the beginning and another at the end. The effect accepts a parameter that determines the duration of the fade effect in milliseconds, with a positive value for fading in at the beginning of the video, and a negative value for fading out at the end of the video.
If you made it this far, trust me, you can make it through anything!
As always, please experiment with other recipes in the cookbook and feel free to share your stunning creations in the comments below!
Watch out for the final part!
Cheers!
